There's an undeniable charm to playing with dirt and plants, don't you agree? I'm no gardening expert myself. Much of my gardening knowledge has come from learning the hard way, from my own mistakes. But I've found a great mentor in YouTube - it's been a godsend!
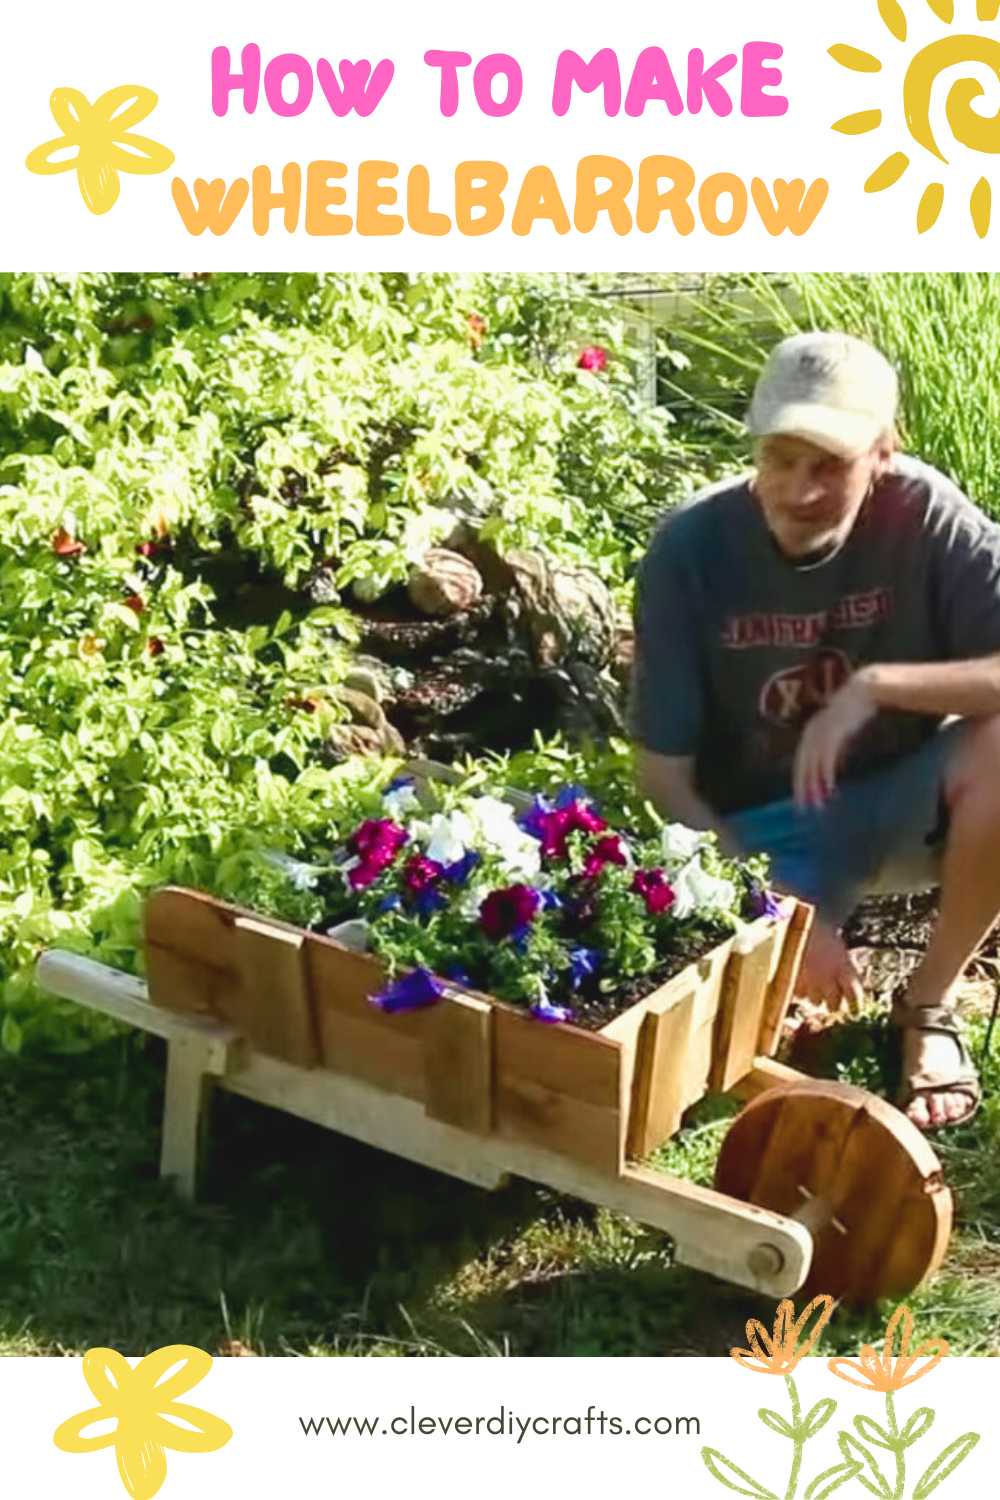
Every year, I enjoy introducing a fun new project into my garden to keep things lively. During my research for tips on growing some of my favorite perennial plants, I discovered an intriguing project. A fantastic video tutorial by Steve Ramsey shows how to repurpose old pallets into a rustic wheelbarrow planter!
The video shows you how to put together a wheelbarrow planter in two parts. First, you build the main part of the wheelbarrow using some pallet boards. Then, you put together the wheel and the axle. It was really fun to follow along with Steve's instructions and create something cool and useful for my garden.
Now, I've got this rustic wheelbarrow planter that's just waiting to be filled with beautiful perennial plants. It's more than just a spot for my plants to flourish, too. It serves as a keepsake of the exciting time I spent acquiring a new skill and crafting something by hand.
If you're on the hunt for a fun and rewarding gardening project, why not consider building this wheelbarrow planter? I assure you, it's a delightful experience piecing it together. And who knows, you might end up having the most admired planter in your neighborhood! You might just end up with the coolest planter in the neighborhood!
Related Articles
Gather Materials:
- Free pallets (2 pallet boards with openings for handles, additional slats)
- Closet rod or similar for the axle
- Short dowels or pins
- Screws and nails
- Wood glue
Table of Contents - Whats inside this article
Step 1:
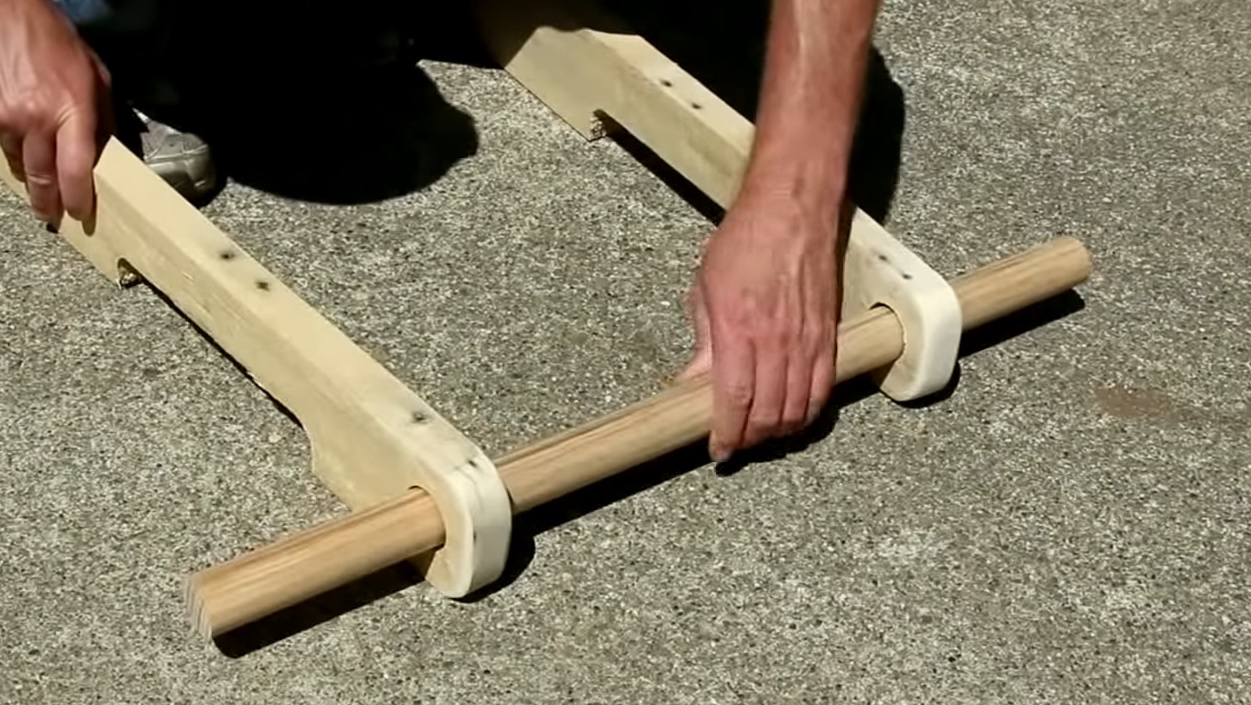
The first task is to prepare the handles. To do this, cut one end off each of the pallet boards with openings and shape them using a sander for a comfortable grip. Next, drill holes for the axle on the sides of the planter. Make sure to make the holes slightly larger than the closet rod for easy adjustments.
Step 2:
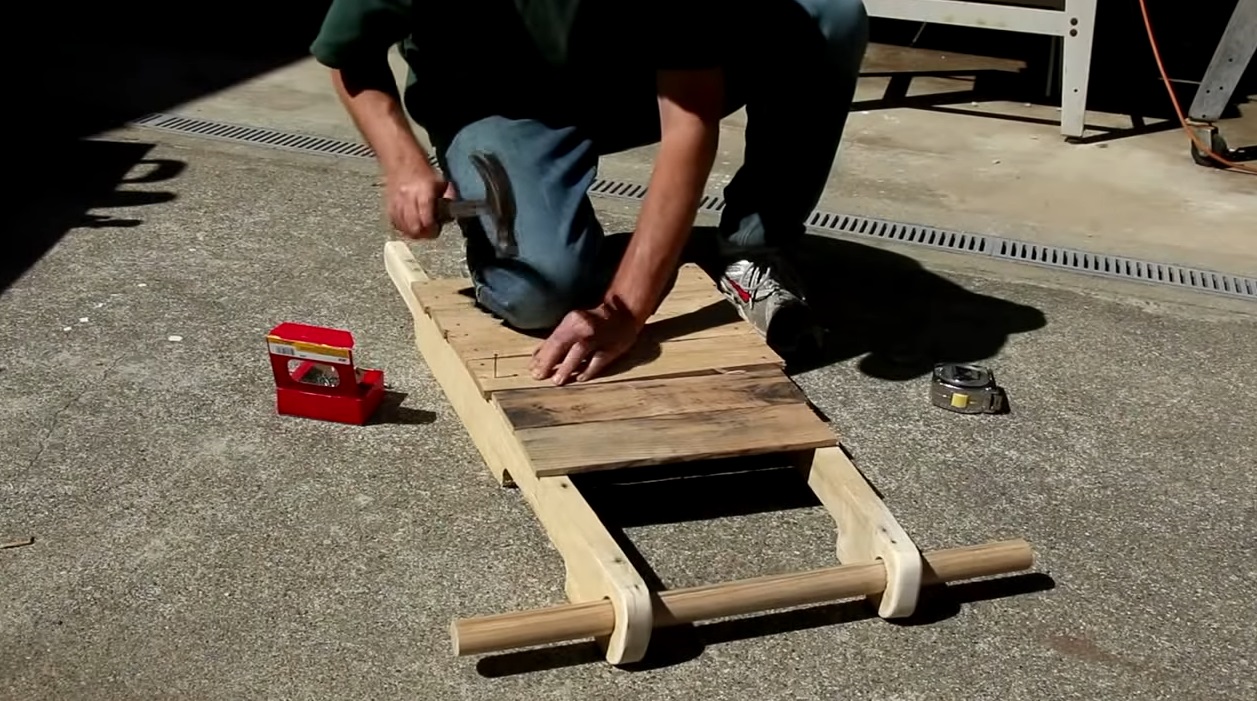
After this, get your slats laid out and take measurements of the handle's width at the top and bottom. Glue and nail these slats together to form the bucket of the wheelbarrow. For the angled front wall, mark two points on the front slats and draw a line connecting them. Use a jigsaw to cut out this angle. To provide support and stability, cut blocks at the same angle as the front wall and glue and nail them to the inside of the side slats. Ensure these blocks rest on top of the angled front wall. Finally, attach side panels onto the bucket frame using glue and screws.
Step 3:
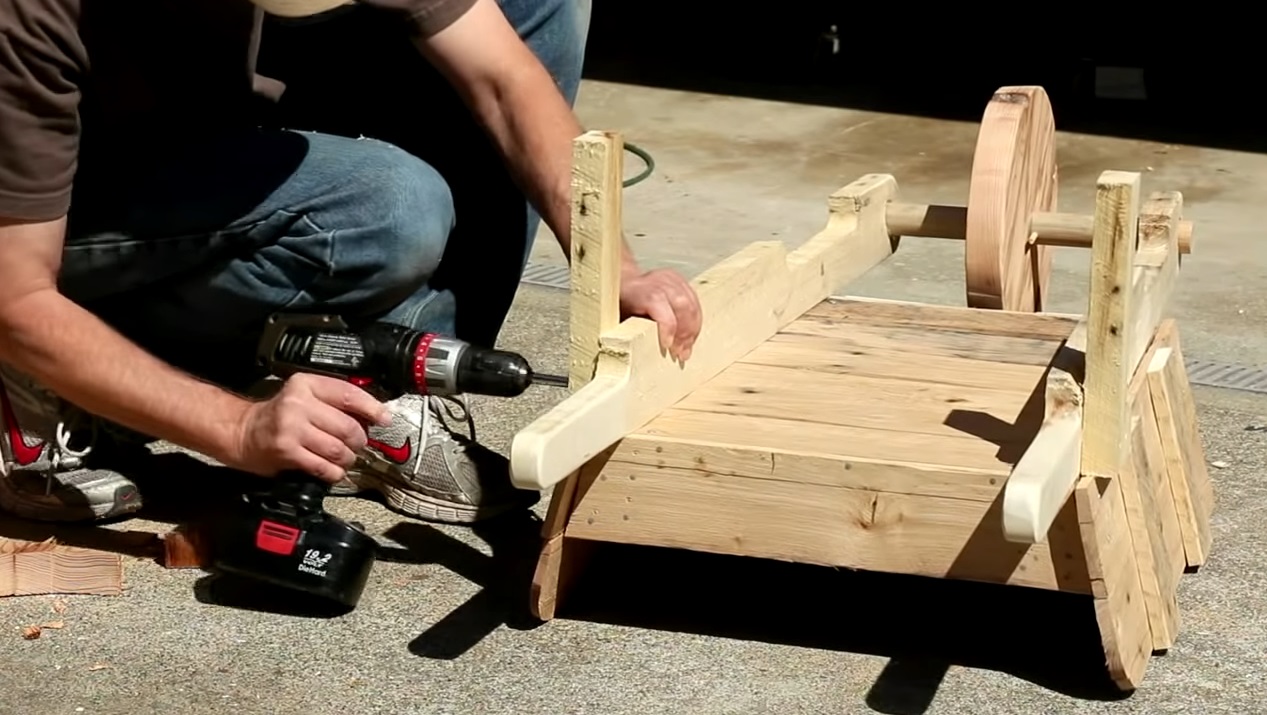
Once the primary section of the wheelbarrow is good to go, it's now the moment to put together the wheel and axle. The following step involves inserting the closet rod into the holes we drilled in the sides of the planter. Mark the locations for the short dowels that will hold the axle in place and insert them. Use long drywall nails with threads and a Phillips head to secure the axle further. Then, cut and attach two pieces for the legs of the wheelbarrow. Glue and screw these legs to the bottom of the bucket frame for support. After these steps, check all the joints and connections to ensure stability. Sand any rough edges or surfaces for a smoother finish. If you want, you can also add a personal touch by painting or staining the wheelbarrow planter for a more polished look.
Step 4:

Finally, move your wheelbarrow planter to your garden or desired location and plant your favorite flowers or herbs to create a charming garden display. Enjoy your new rustic wheelbarrow garden planter!
Now, my garden has a brand new, handmade planter, ready for my upcoming batch of perennial plants. It's not just a box for my plants, it's proof of my hard work and creativity.
Here's to many more fun garden projects, to learning, and to the pure joy of creating something with our own hands. Until next time, happy gardening!
How To Make a Rustic Wheelbarrow Garden Planter