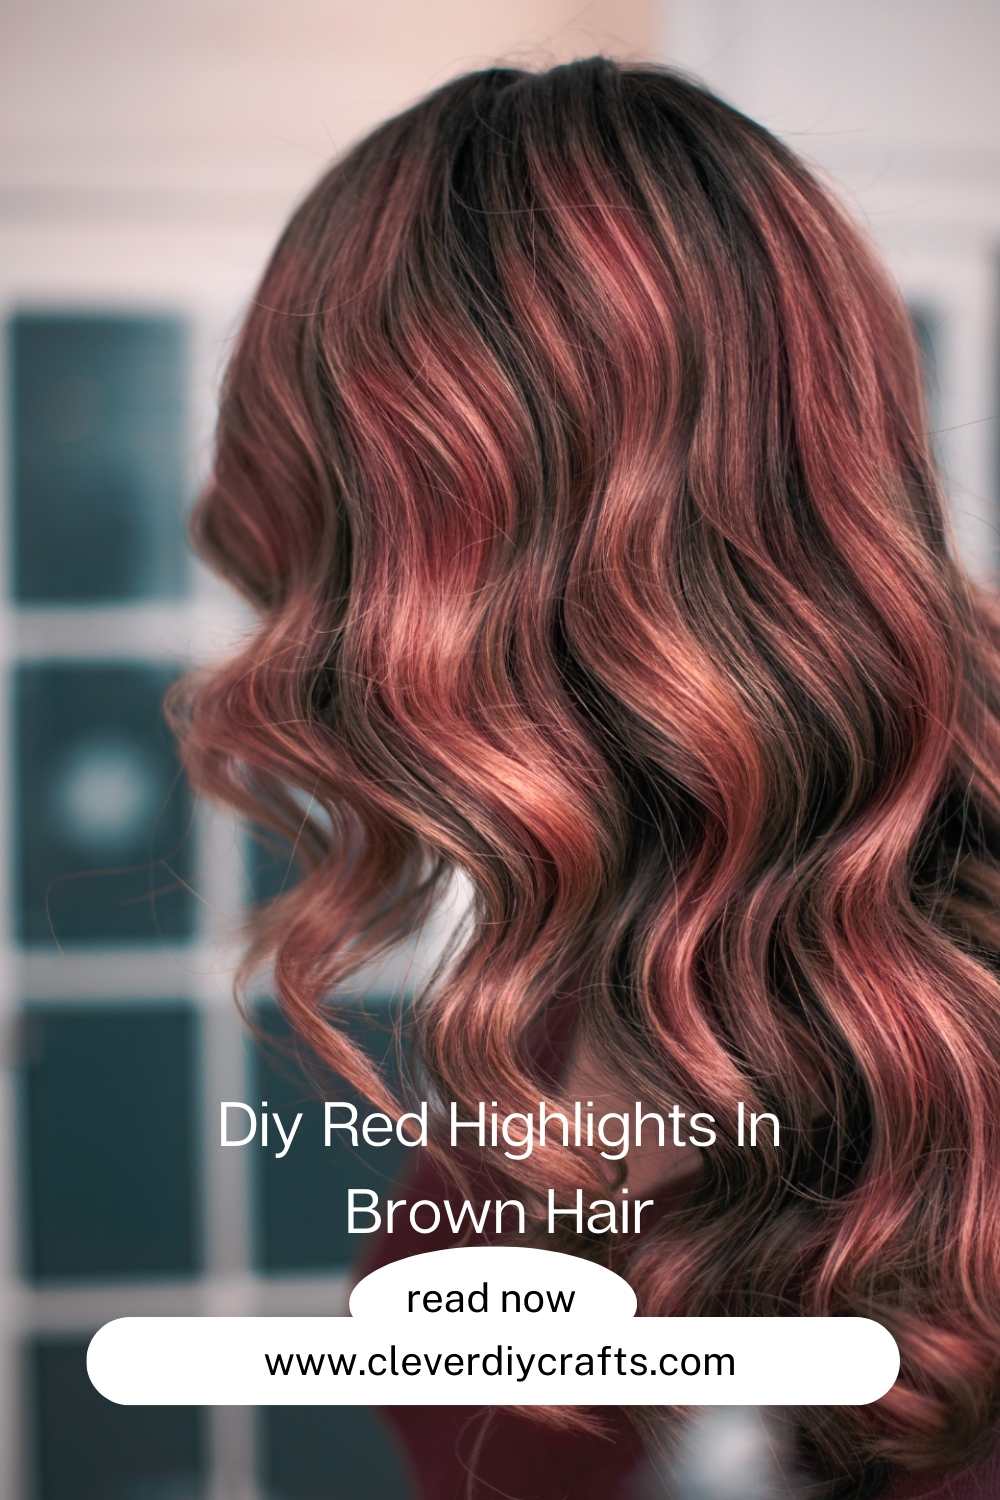
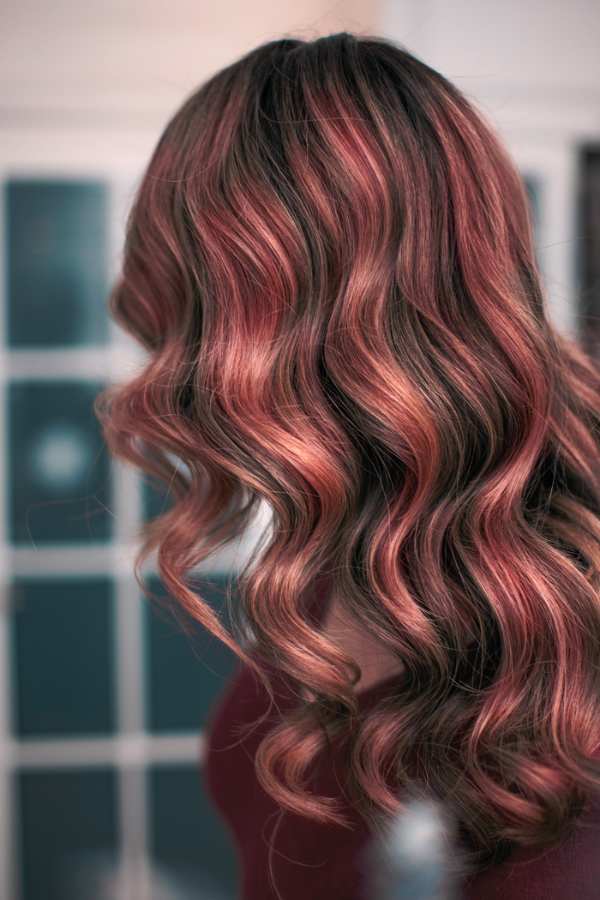
Hey, beautiful! Ready for a summer transformation? I’ve got something that might pique your interest. I mean, we’ve all been ogling those Spring hair color trends that have been dominating our social media feeds, right? Now that Summer is here, it’s time to take a cue from those trends and brighten our look. Do you know what I did? I ditched the rule book and went for vibrant DIY red highlights in my brown hair. A bit daring, I agree, but I’ve never looked back since.
Why not shake things up with your hair this season? Maybe you’ve been thinking about how to rock blonde hair for dark skin tones, or you’re wondering what the most popular hair color trends for Spring were. Well, adding red highlights to your brown hair can be a game-changer, creating a stunning and eye-catching look.
Related Articles
Why Go Red, You Ask?
When I first thought about switching up my brown hair, I was skeptical. But then, I remembered that life’s too short for boring hair. So, I went for it - DIY red highlights in my brown hair. What a fantastic choice it was! Red has this way of injecting warmth, depth, and undeniable boldness into your brown hair. It ranges from delicate copper tones to electric cherry red hues, and I tell you, it’s just the perfect way to express yourself. And the best part? You don’t need a salon appointment for this transformation.
Table of Contents - Whats inside this article
Finding Your Perfect Match
Finding the perfect red for your hair is like finding your soulmate – it’s all about compatibility. Think about your skin tone; reds with orange or copper undertones can be magical if it's warm. Reds with a hint of violet or burgundy can be your go-to for cooler undertones. I had fun experimenting with different shades on small test strands before I found the one that just clicked.
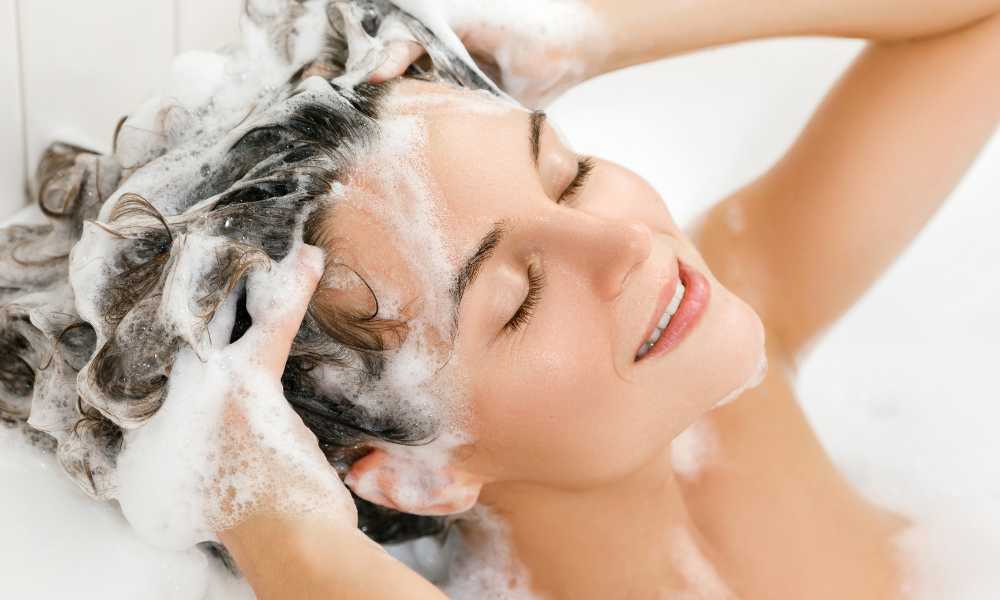
The Prepping Phase
Alright, before we play with the color, we need to get your hair ready. I learned the hard way that applying dye on unprepared hair doesn’t give the best results. First off, wash your hair with a clarifying shampoo. It helps to remove any product buildup or oils and creates the perfect canvas for the dye. After washing, treat your hair to a deep conditioning session to get it all soft, nourished, and primed for the color transformation that's about to happen. And remember, be gentle when drying your hair.
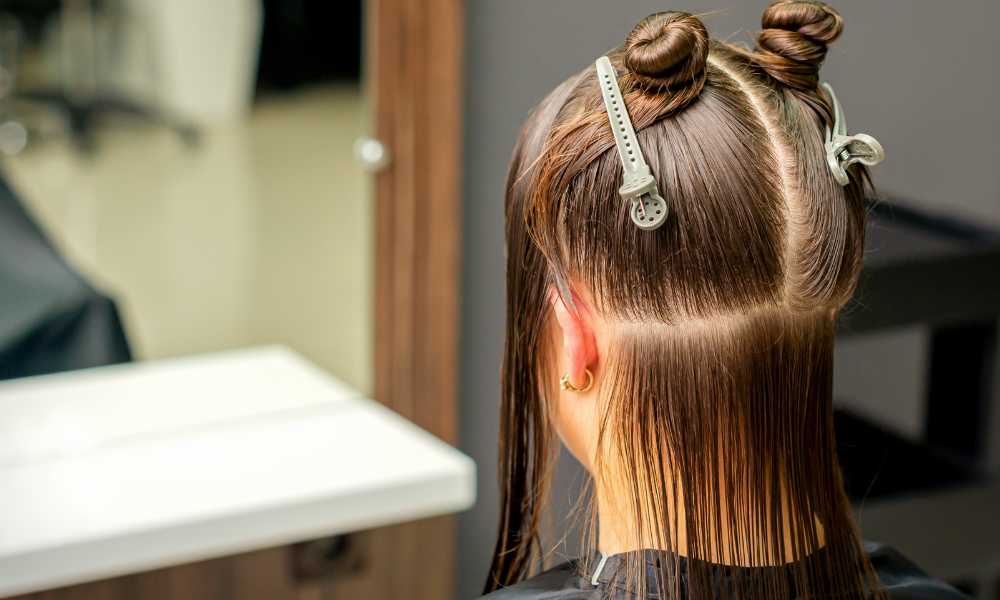
It's All About Sectioning
Next up, sectioning. This might feel like you’re back in geometry class, but it’s crucial for a neat and organized dyeing process. I divided my hair into manageable sections using hair clips. I started by parting my hair down the middle, then created two horizontal sections - one above the ears and one at the nape of the neck. This will make your dyeing process so much smoother.
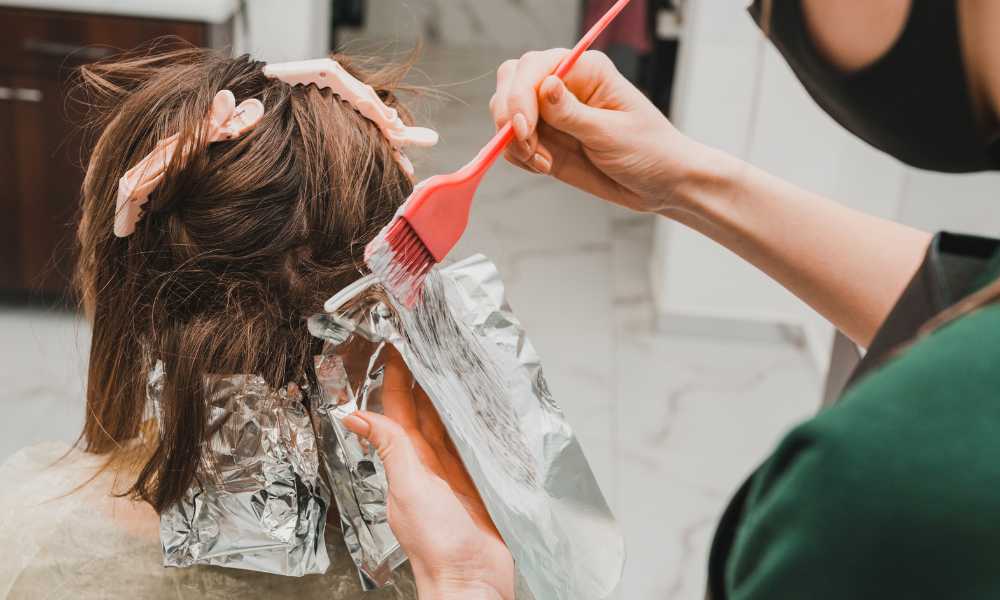
Let the Transformation Begin!
Now comes the exciting part - applying the dye. With my gloves on (you don’t want to end up with red hands, trust me), I started applying the dye to small strands of hair from the bottom sections upwards. Focusing on the mid-lengths and ends gives a more natural look. I was careful not to put too much on the roots because I didn’t want them to look too saturated.
The Waiting Game
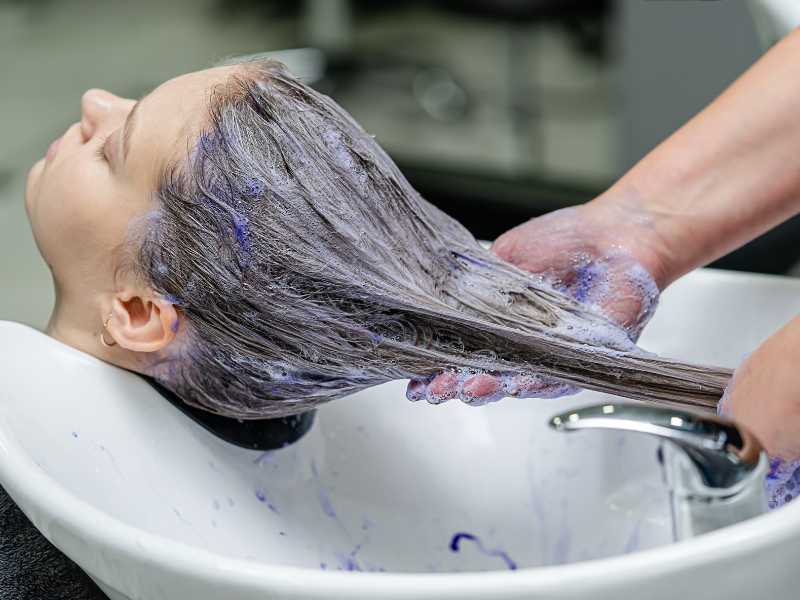
After applying the dye, it was showtime for the dye to work its charm. I strictly adhered to the recommended time mentioned on the dye packaging (a timer can be your best friend here). When the clock signaled the end of processing time, I made sure to rinse my hair thoroughly using lukewarm water until the water ran clear. Now remember, hot water is basically a villain in our hair dye story - it can strip away the color faster. So, lukewarm is the way to go! Once all the dye was out, I treated my hair to a color-safe conditioner. It's like giving your hair a good meal to lock in the color and boost hydration.
Care for Your New Fiery Hair
Congrats on your transformation; now it’s time to take care of it! One rule I followed religiously was to use a color-safe shampoo and conditioner. I also cut down on how often I washed my hair to prevent the color from fading.
When it came to styling, I made sure to use a heat protectant. Sun protection is crucial, too, so grab a cute hat or a UV protectant spray when you’re going out.
Freshen Up
Over time, red highlights can fade. When I started noticing this, I used a color-depositing shampoo to revive the vibrancy of my red highlights. If the fading is significant, a little touch-up works wonder. Remember to keep your hair health on point, too.
Tips & Tricks
- Test on a strand before going all out.
- Protect your skin from dye stains with petroleum jelly or barrier cream.
- Try balayage or ombre techniques for a subtle, sun-kissed effect.
- Unsure or want to try something more complex? It’s okay to seek professional help.
Watch Out For
- A red shade that doesn’t go with your skin tone.
- Overlapping the dye on previously colored hair.
- Applying the dye too thickly.
- Rushing through the processing time.
Of course, you have a bunch of questions swirling around in your mind right now. Let me try my absolute best to answer those frequently asked questions:
Can I get red highlights in dark brown hair?
Absolutely, darling! But remember, the color intensity might differ based on your original hair color and the shade of red you pick.
How long will my red highlights last?
Usually, they can last anywhere from 4 to 6 weeks. But with good care, you might be able to extend it even more.
Can I use box dye for red highlights?
Sure, can! Just make sure you pick a good brand and follow the instructions accurately.
Will red highlights damage my hair?
Not if you do it correctly and take good care of your hair. Always treat your hair with the love it deserves.
Can I remove the red highlights if I don’t like them?
It’s possible but tricky. If you end up in this situation, seeking professional help is best.
So there you go, lovely. My firsthand experience and guide on how to DIY red highlights in your brown hair at home. Follow these steps and embrace the transformation. Always remember, whatever you choose, you’re beautiful. Happy coloring!